The article today “Hide and unhide rows in Excel” is just a quick introduction to hide and unhide rows. The first section covers how to hide and show a continuous series of rows. There are several methods, but we keep it to one and a series of rows this time.
In addition is there attached a Excel spreadsheet to the article. The reason for this is to have a learning by doing session. The importance of this is the knowledge that it is easier to learn by trying. Therefore do the learning exercise witch is to hide and unhide January since it is not used.
Click here to find useful Excel tips and tricks
Guide to Hide and Unhide rows
The following step by step guide describes first how to hide a set of data in a Excel spreadsheet. Thereafter it describes how to unhide the same set of data. After that comes a learning by doing session.
Hide
- Start with selecting the rows you want to hide. Just click on the number in front of the first row to hide.
- Then use the mouse wheel to scroll down so the last row you want to hide is visible on the screen.
- Press down and hold [Shift] (Left corner above [Ctrl]).
- After that should you move the mouse cursor over the last row number to hide and click on it with use of the left mouse button.
- Right click then with the mouse either on the row numbers selected or inside the boundaries of the selected fields.
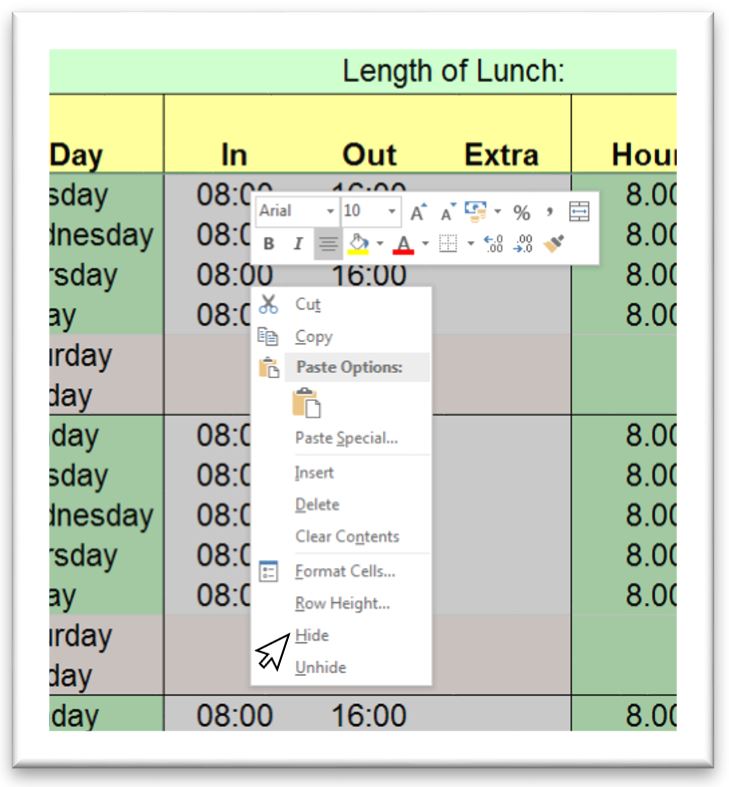
- Select then [Hide] in the pop-up menu.
- All rows selected should then be hidden.
Unhide
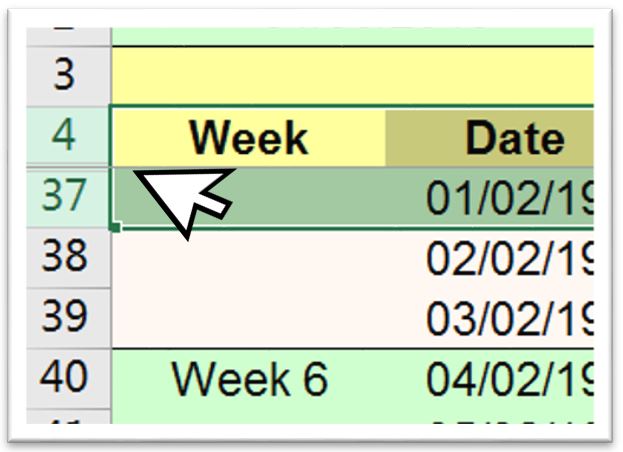
- Select the last row before the hidden rows by left clicking the row number with the mouse. Select rows to unhideThese rows are easily located by the gaps in the row number sequence.
- Press after that down [Shift] and hold it.
- Move then the mouse cursor to the first row after the hidden rows and click it with left mouse button.
- Move thereafter the cursor inside the frame of the selected data.
- Right click with the mouse and select [Unhide] from the popup menu.
All hidden rows should now be visible again.
Click here to learn how to use Microsoft Excel shortcuts
Learning by doing; Hide and Unhide rows
Then is it time to learn it by practicing. Bellow section gives together with the attached Excel spreadsheet a learn by do session to Hide and Unhide rows and columns in Excel 365.
Hide
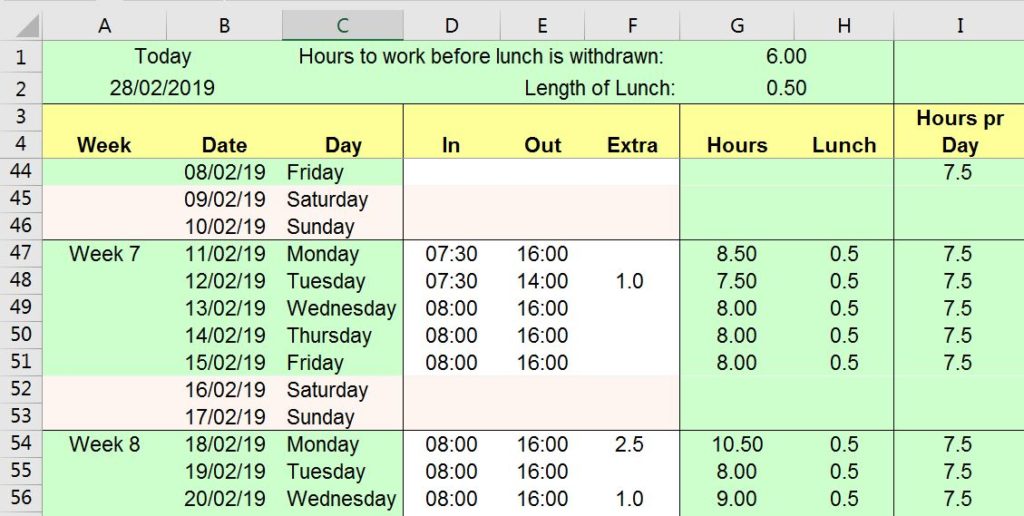
- Download and open the attached workbook.
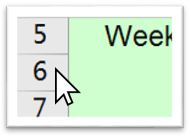
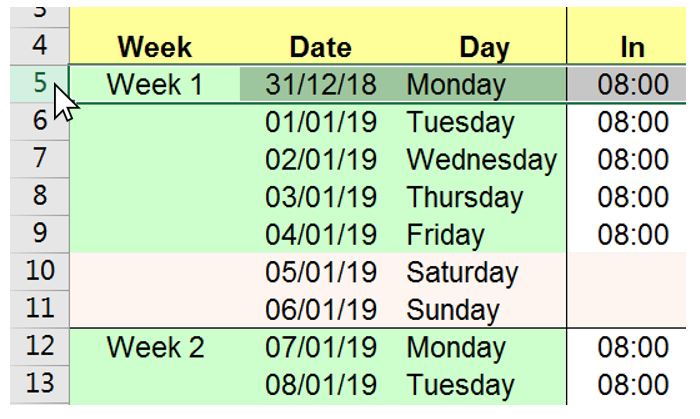
- Scroll to the top of the sheet, select row 5 with the mouse, done by a mouse click on the row number.
- Scroll down to the last row to hide (36) with the mouse wheel.
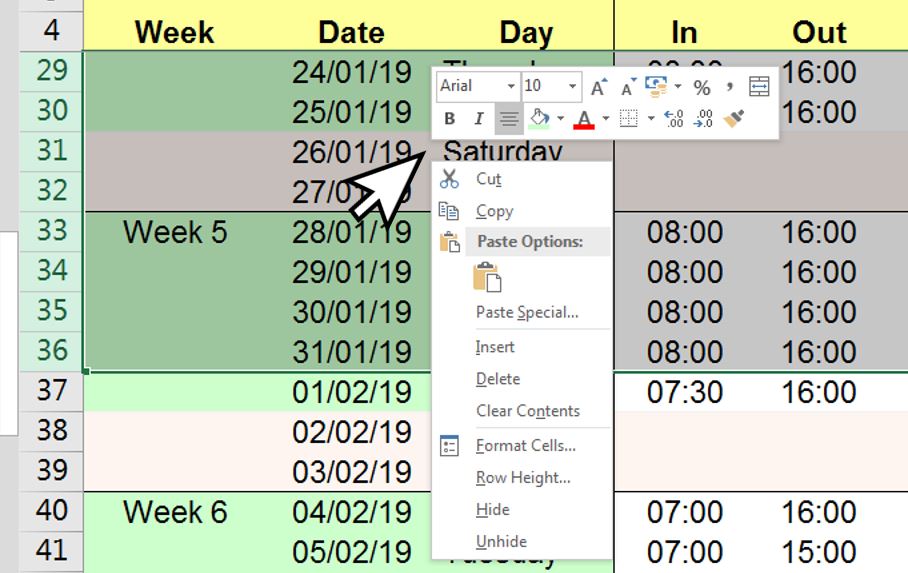
- Press and hold [Shift], select row 36 by clicking on the row number. Release [Shift] and all rows are selected.
- Place the cursor anywhere between row 5 and row 36 inside the frame of the selected rows.
- Right click with the mouse and select [Hide] in the pop-up menu.
- All rows containing January should now be hidden.
Unhide
- Scroll in the sheet with the mouse wheel so row 4 is visible.
- Select row number 4 by placing the mouse cursor on it and press left mouse button.
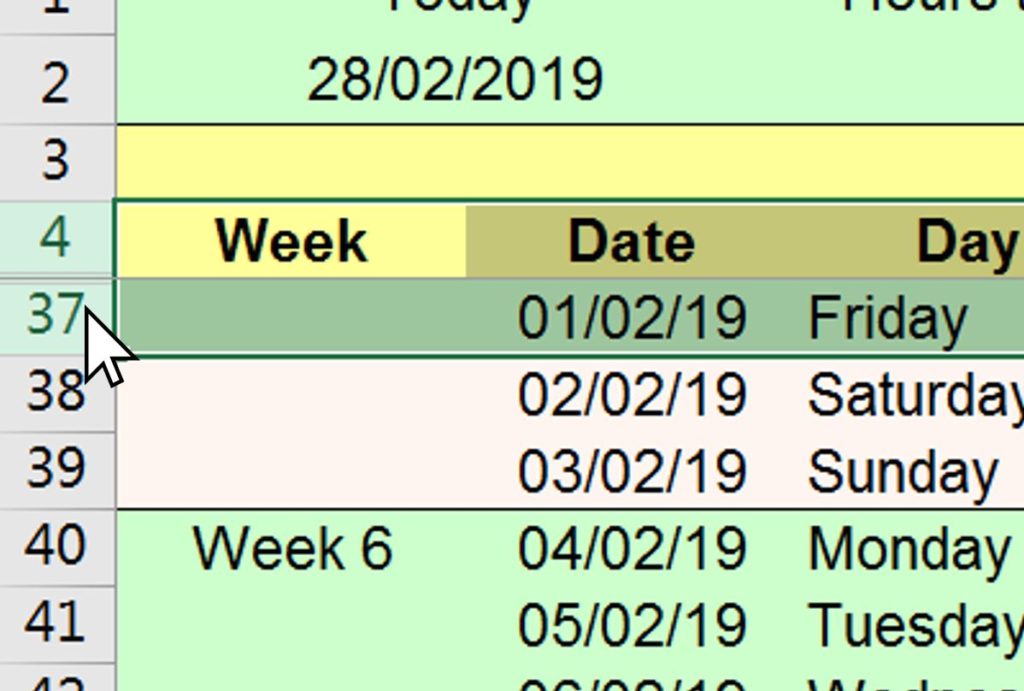
- Press and hold [Shift], select thereafter row 37 with the mouse. Row 37 should be next after row 4 (row 5 to 36 was hidden above).
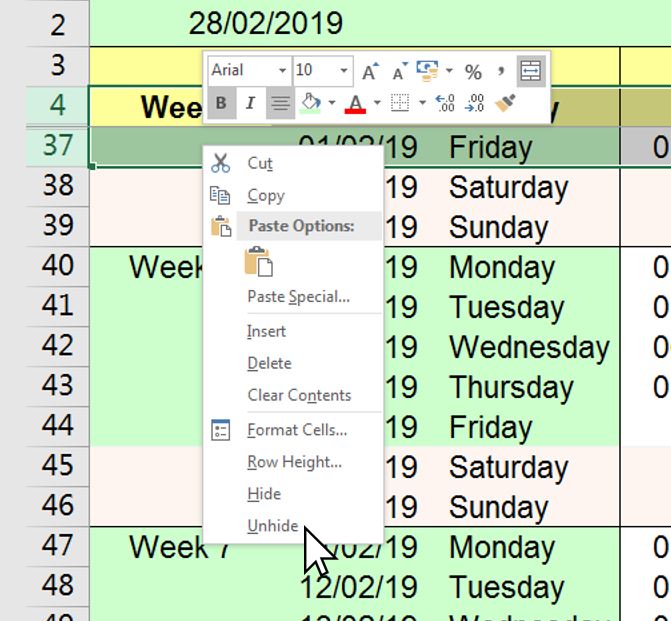
- Move the cursor inside the selected fields frame.
- Right click with the mouse and select [Unhide] from the pop-up menu.
- Your rows should now be visible again.
Click here to learn how to use Microsoft Excel shortcuts
4 steps to Unhide all hidden rows – Quick tips
The step-by-step guide above to just unhide selected data row are quite complex. But Excel do have a faster way if you are sure that all hidden rows are to be shown.
Show all hidden rows
- Left Click with the mouse in field A1.
- Press [Ctrl] + [A] to select everything.
- Right click anywhere in the sheet.
- Select unhide from the pop-up menu.
All hidden rows should now be visible
Hope this gave a glance into how to Hide and unhide rows in Excel.
More tips and tricks on Office-Tips.net….
Move entire rows & columns in Microsoft Excel
One function that certainly is handy to know is how to move entire rows or columns in Excel. Easily done by drag and drop to the new position.
Stop fussing around when there is need to reorder rows or columns. Use our quick and neat method to drag and drop rows or columns.
Click here to learn a smooth way to drag and drop rows and columns to a new position.
Office-Tips.net article overview
Do you wish to read more of our articles about office products? To get a full overview of all Office-Tips.net articles it is just to [click here].
If user guidance to Excel is the topics you are looking for. Then it is just to [Click here]. This page shows an overview of all Microsoft Excel related articles.